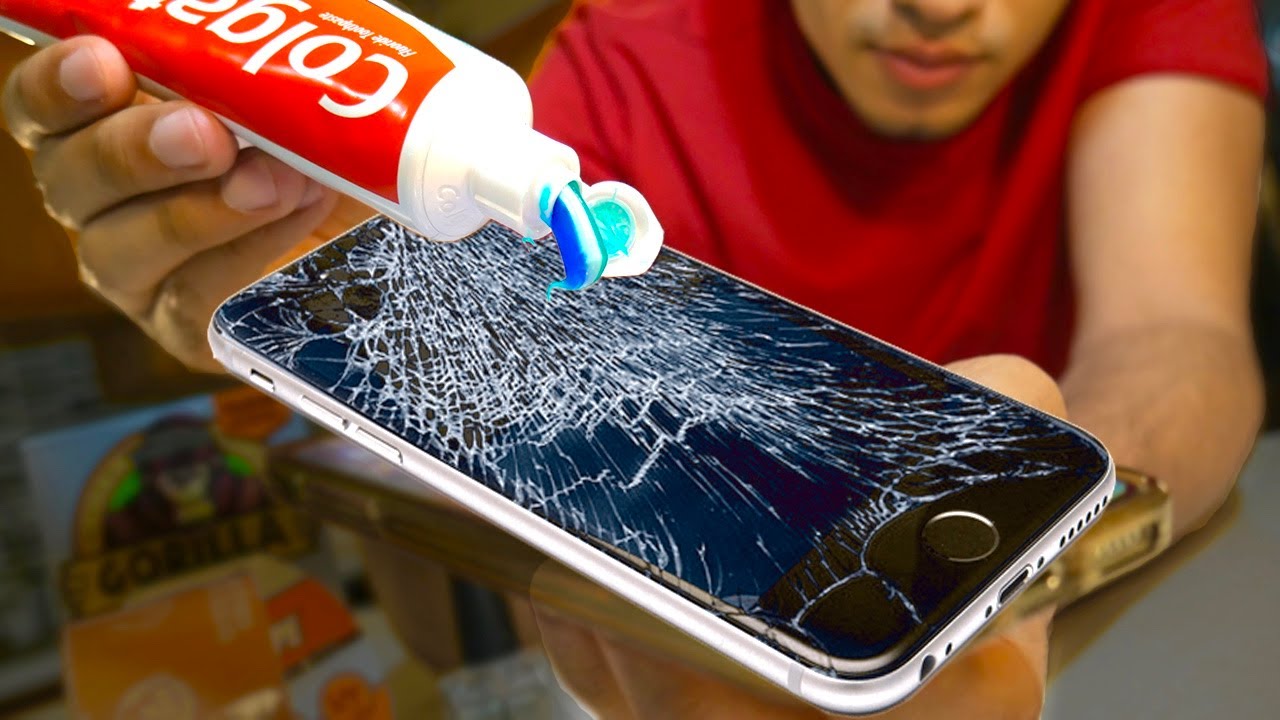
A cracked phone screen can be frustrating. But, it’s not the end of the world.
You can fix it yourself with the right tools and steps. Many people face this problem. Dropping your phone happens. A shattered screen can disrupt your day. But don’t worry. Fixing it is easier than you think. With some patience and a few tools, you can repair your phone screen at home.
This saves money and time. Plus, you get the satisfaction of doing it yourself. Ready to get started? Let’s learn how to fix a cracked phone screen.

Credit: www.youtube.com
Assessing The Damage
Assessing the damage on a cracked phone screen is the first step to repair. Check for visible cracks, touch sensitivity, and potential internal damage.
Types Of Screen Cracks
Screen cracks can vary. Hairline cracks are thin and short. They may look like spider webs. Deep cracks are larger and more visible. They can affect touch response. Shattered screens have many small pieces. They are dangerous to use.
Extent Of Damage
Check if the screen still works. Touch the screen to see if it responds. Look at the display. Is it clear or blurry? Test the phone’s functions. Make a call, send a message. If the phone works, the damage is minor. If not, it might need a professional fix.
Gathering Materials
To fix a cracked phone screen, gather the right tools. You need a small screwdriver set. A plastic opening tool is also essential. A suction cup will help remove the screen. Tweezers are useful for delicate parts. A spudger can help pry open the phone. Have a microfiber cloth ready for cleaning.
Find the correct replacement screen for your phone model. Ensure the screen is compatible. The new screen should come with adhesive strips. These strips help hold the screen in place. Also, get a new screen protector. It will keep your new screen safe.
Preparing Your Workspace
First, clear off your desk or table. Remove any clutter. This helps you find your tools easily. Next, use a soft cloth to wipe the surface. Make sure it is dust-free. This prevents dirt from getting into your phone.
Gather all the tools you will need. Include a small screwdriver. You will also need tweezers and a suction cup. Arrange them neatly on your workspace. Keep them within reach. This makes the repair easier and faster.
Powering Down The Phone
Always back up your data before fixing the screen. Use cloud services like Google Drive or iCloud. Save contacts, photos, and important files. This ensures nothing is lost if something goes wrong.
Turn off the phone before starting the repair. Hold the power button until the screen goes black. This step is very important. It prevents damage and keeps you safe.
Removing The Damaged Screen
Carefully remove the damaged screen by loosening the screws and disconnecting the cables. Slowly lift the screen to avoid further damage.
Loosening Screws
Start by loosening the screws on your phone. Use a small screwdriver. Be gentle to avoid further damage. Place the screws in a safe spot. This will keep them from getting lost.
Detaching The Screen
Next, carefully detach the screen. Use a plastic tool for this step. Gently pry around the edges. Lift the screen slowly. Ensure all connections are undone. Do not rush. This prevents breaking small parts.
Installing The New Screen
Connect the new screen to the phone’s main board. Align the connectors carefully. Make sure they fit snugly. Press down gently to secure them in place. Do not use too much force.
Place the screws in their original spots. Use a small screwdriver. Tighten each screw securely. Do not over-tighten. Check if the screen is firmly attached. This ensures your phone works well.
Testing The New Screen
After installing the new screen, press the power button. Wait for the phone to turn on. Make sure the screen lights up. If not, check the connections. Sometimes they can be loose.
Once the phone is on, test the touch sensitivity. Swipe across the screen. Tap on apps to open them. Ensure the screen responds well. Also, check the display for any dead pixels. Look for black spots or lines. These mean the screen is damaged. Test the brightness control too. Make sure it adjusts properly.

Credit: www.technewsworld.com
Final Touches
First, use a soft cloth to remove dust. Dirt can scratch the screen. Dampen the cloth with a bit of water. Gently wipe the screen. Do not press too hard. Next, dry the screen with another cloth. Make sure the screen is completely dry.
Peel off the old screen protector. Clean the screen again. Use a new screen protector. Align it with the phone screen. Press it down gently. Remove any air bubbles. Use a soft cloth to smooth it out.

Credit: www.wikihow.com
Frequently Asked Questions
How Can I Fix A Cracked Phone Screen At Home?
Fixing a cracked phone screen at home is possible with a screen repair kit. Follow the instructions carefully. However, it’s best to consult a professional if unsure.
Is It Safe To Use A Phone With A Cracked Screen?
Using a phone with a cracked screen can be risky. It may cause further damage or injury. It’s advisable to repair it promptly.
What Tools Do I Need For Screen Repair?
You need a screen repair kit, including a new screen, adhesive, and small tools. Ensure you have a clean workspace.
How Much Does It Cost To Fix A Cracked Phone Screen?
The cost to fix a cracked phone screen varies. It ranges from $50 to $300 depending on the phone model and repair method.
[hurrytimer id=”1066″]
Conclusion
Fixing a cracked phone screen can be simple with the right steps. Follow safety measures and gather necessary tools. Assess the damage before beginning any repairs. Decide if professional help is needed. If confident, proceed with careful precision. Remember, patience and care are key.
Regular screen protection can prevent future cracks. Keep your phone safe and functional. Happy fixing!
